Quality Assurance
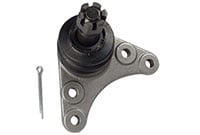
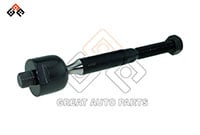
The Ball Studs and Ball Rods are generally considered to be critical components for their applicable steering and suspension assemblies. Because they are critical components, they must follow precise manufacturing control plans, and quality check points to insure they meet the very high quality standards required by our customers
We had Established the very first Test lab for Steering and Suspension parts, especially specific in Housing / Ball Pin / Pillow ball/ ball joint socket components, that never seen in Taiwan auto parts makers.
Introduction to Steering and Suspension Testing Equipment
Our advanced testing equipment allows us to check for any defects or weaknesses in these critical components. This blog will explore different testing methods, focusing on eddy currents and robotic systems for crack detection, as well as the mechanics of ball stud drop impact testing.
Importance of Quality Assurance in Steering and Suspension Parts
As critical components, all of our steering and suspension parts must follow precise manufacturing control plans and quality checkpoints to meet the high standards required by our customers. Rigorous testing helps manufacturers detect potential issues and fix them before they become serious problems, ensuring the reliability and safety of these parts.
Comprehensive Inspection and Test Equipment
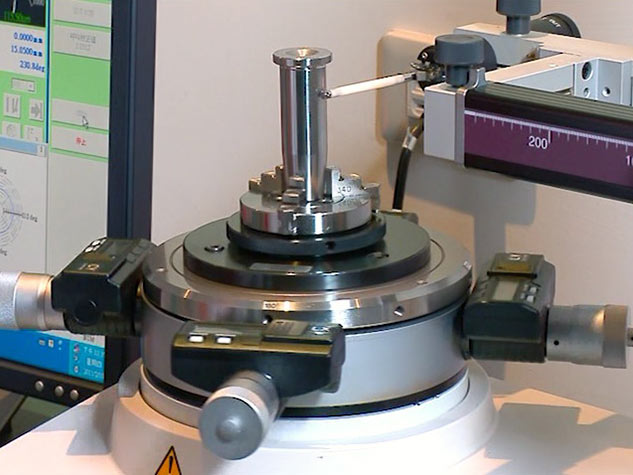
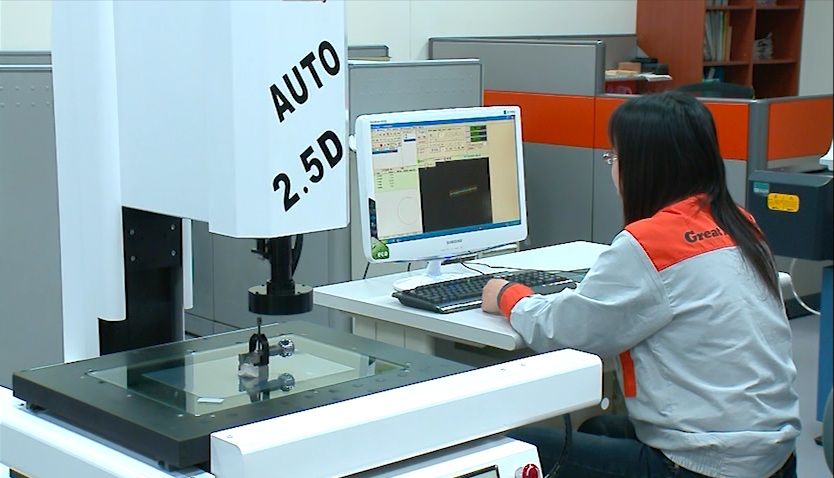
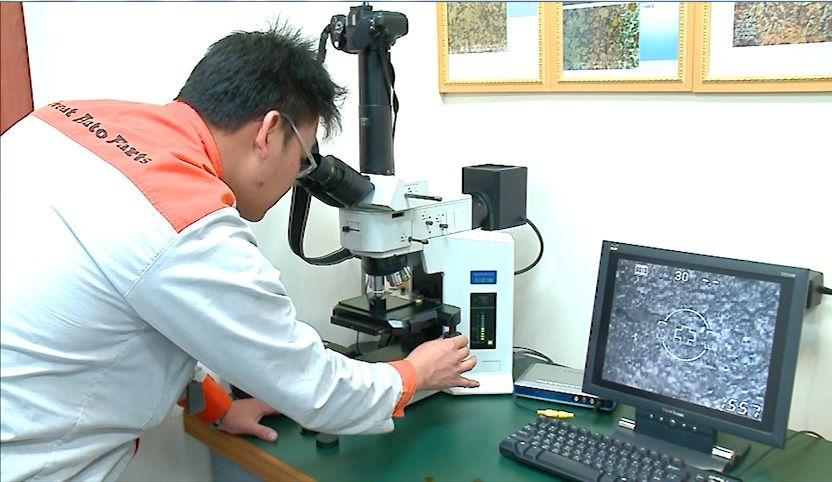
We have an in-house, fully equipped Quality and Testing Laboratory featuring precision measuring equipment to meticulously verify all production processes. Our laboratory is equipped with a wide range of precise measuring tools and testing machines, including:
- Surface roughness measurement instruments
- Roundness measurement instruments
- Optical profile projectors
- Profile measurement instruments
- Hardness testers
- Microstructure microscopes
- Universal testing machines
- Impact testing machines
- Automatic diameter measuring instruments
- Coordinate Measuring Machines (CMM)
- Other related inspection and test equipment.
How Does Eddy Current Test Works
Eddy current testing is a non-destructive testing method used to identify surface and subsurface defects in conductive materials. The process relies on electromagnetic induction to detect flaws.
Principle of Electromagnetic Induction
When an alternating current passes through a coil, it generates a changing magnetic field around the coil. If this coil is brought near a conductive material, the changing magnetic field induces circulating currents within the material.
Behavior of Eddy Currents
Eddy currents flow in closed loops perpendicular to the direction of the magnetic field. The behavior of these currents is affected by the material’s properties, such as its electrical conductivity and magnetic permeability, as well as the presence of any discontinuities like cracks or voids.
Detection of Flaws
When there is a defect in the material, such as a crack, the flow of eddy currents is disrupted. This disruption causes changes in the phase and amplitude of the induced currents. These changes are detected by the testing equipment, which can then indicate the presence and location of the defect.
Testing Equipment
The equipment used for eddy current testing typically includes a coil (probe), an oscillator to generate the alternating current, and a detector to measure the response. Advanced systems may also use digital signal processing to enhance the detection and analysis of flaws.
Understanding Eddy Currents in Crack Detection
Eddy currents are particularly useful for detecting cracks in conductive materials because they can penetrate the surface and identify subsurface flaws.
Surface and Subsurface Cracks
Eddy currents can detect both surface and subsurface cracks. Surface cracks disrupt the eddy currents directly at the material’s surface, while subsurface cracks affect the currents beneath the surface.This dual capability is crucial for comprehensive inspection of critical components like ball studs and control arms
Sensitivity to Cracks
The sensitivity of eddy current testing to cracks depends on several factors, including the frequency of the alternating current and the properties of the material. Higher frequencies are more sensitive to surface defects, while lower frequencies can penetrate deeper to detect subsurface flaws.
Mapping Cracks
By scanning the probe over the material, technicians can create a map of the material’s surface, identifying areas where the eddy currents are disrupted. This mapping helps locate and characterize the size and shape of the cracks.This method is particularly useful in the automotive industry for the reliability and safety of parts such as steering and suspension components
Applications in Automotive Steering and Suspension
Eddy current testing is widely used in the automotive sector to examine crucial steering and suspension components for cracks and defects. The integration of robotic systems in this process enhances precision and efficiency. For instance, robots equipped with thermographic technology can inspect ball studs by inducing heat flow and using infrared cameras to detect cracks. This method offers rapid, accurate results without damaging the tested material, thereby guaranteeing the safety and reliability of these components.
What is Robot for Crack Detection
Robots for crack detection are advanced tools that improve the accuracy and efficiency of finding cracks in materials. These robots can move through complex shapes and hard-to-reach areas, providing thorough inspections that might be missed by manual checks. They use sensors and eddy current probes to detect and analyze cracks, ensuring even the smallest defects are found.
Role of Robots in Crack Detection Processes
Increased Precision
Robots equipped with advanced sensors and imaging technologies can detect even the smallest cracks within ball studs. These systems use methods such as laser-based thermography, which applies heat to the part and uses infrared cameras to identify discontinuities in heat flow, revealing hidden cracks accurately. This high precision ensures that all defects are consistently identified, maintaining the safety and reliability of the vehicle components,
Reduced Human Error
Automated robotic systems minimize the potential for human error that can occur during manual inspections. Robots follow precise programming and maintain consistent performance over time, reducing the risk of missing critical defects.
Efficiency and Speed
Robotic inspections are significantly faster than manual methods. Robots can operate continuously without fatigue, covering large areas and inspecting numerous ball studs quickly and efficiently. This speed is particularly beneficial in automotive manufacturing, where frequent and thorough inspections are necessary to meet production demands.
Integration with Other Systems
Robotic crack detection systems can be seamlessly integrated with other testing and manufacturing systems, allowing for real-time data collection and analysis.
Mechanics of Ball Stud Drop Impact Testing
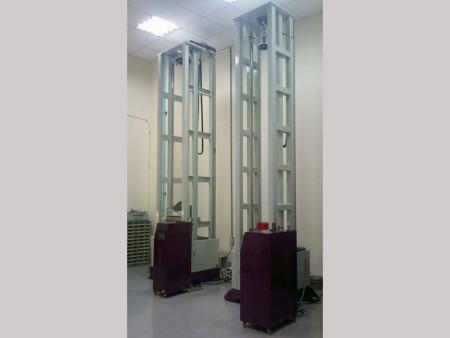
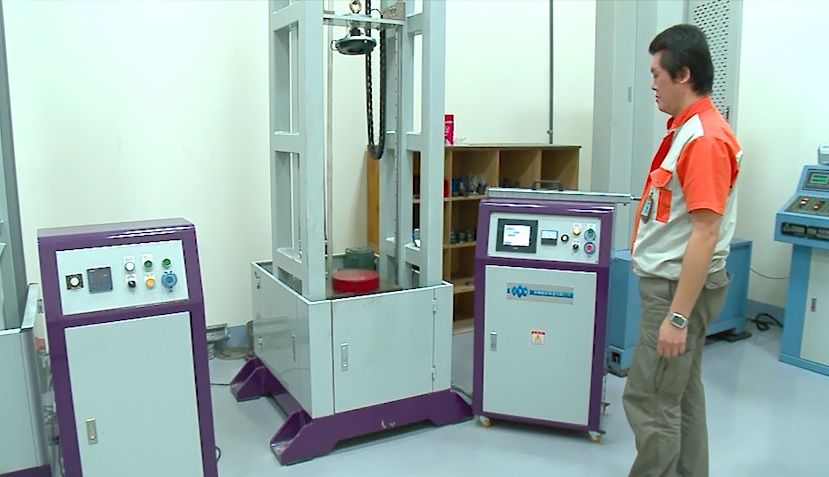
Ball stud drop impact testing is a method used by Great Auto Parts to evaluate the durability and strength of suspension components, particularly ball studs. Here’s a detailed explanation of how this testing works:
-Test Setup: The test involves dropping a weighted ball from a specified height onto the ball stud. The height and weight of the ball are carefully chosen to simulate the impact forces the part would experience during normal vehicle operation.
-Impact Simulation: The impact from the dropped ball mimics the sudden shocks and forces that the ball stud would encounter in real-world driving conditions, such as hitting potholes or bumps in the road.
-Measurement of Response: The response of the ball stud to the impact is measured to assess its durability. This includes observing any deformation, cracks, or other damage that might occur as a result of the impact.
-Assessment Criteria: The test criteria are based on the part’s ability to withstand the impact without significant damage. A durable ball stud should be able to absorb the impact and maintain its structural integrity.
-Importance in Quality Assurance: Ball stud drop impact testing is crucial for ensuring that suspension components are robust and can handle the stresses of everyday driving. It helps manufacturers design and produce parts that meet high safety and performance standards.
Great Auto Parts: Eddy Currents and Robots for Crack Detection<H2>
Discover how this advanced machine performs crack detection and material testing using eddy currents and robotic technology. This system is capable of identifying internal cracks that are invisible to the naked eye and testing materials at multiple frequencies for comprehensive analysis.
Trust Great Auto Parts for premium suspension parts that guarantee your vehicle's smooth and safe operation every time you hit the road.

